Twenty six low-risk ways to use F# at work
https://swlaschin.gitbooks.io/fsharpforfunandprofit/content/posts/low-risk-ways-to-use-fsharp-at-work.html
Getting started
let x = 1
let y = 2
x + y;;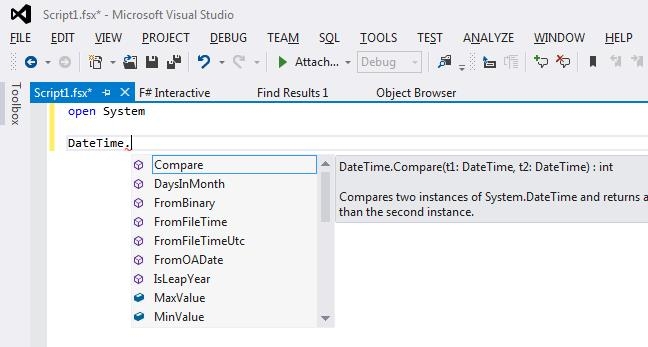
使用外部库和 NuGet
第 1 部分:使用 F# 以交互方式探索和开发
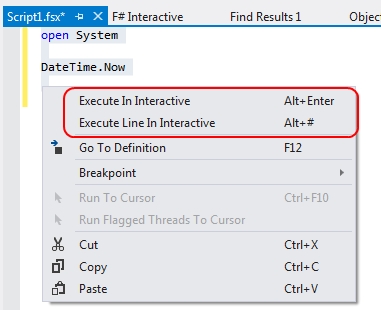
1. 使用 F# 以交互方式探索 .NET
我的自定义 DateTime 格式字符串是否正确?
XML 序列化如何处理本地 DateTimes 与 UTC DateTimes?
GetEnvironmentVariable 区分大小写吗?
2. 使用 F# 以交互方式测试您自己的代码
3. 使用 F# 以交互的方式使用 Web 服务
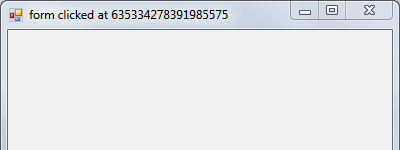
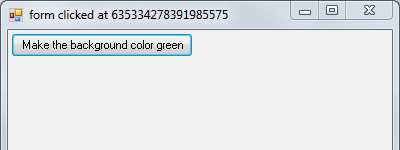
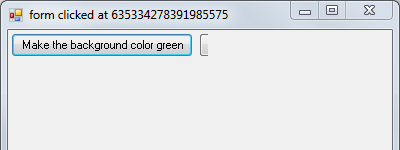
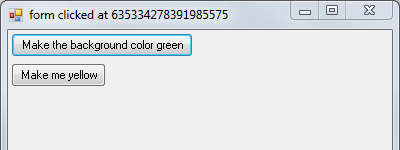
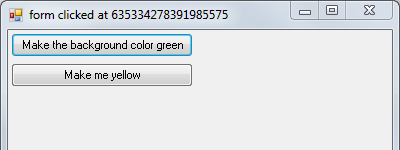
4. 使用 F# 以交互方式来使用 UI


Last updated